

Host Monitor Agent 20.11 installation on Linux: In this article we will explain how we can install Host Monitor Agent on Linux database server. Here we will perform this activity on Oracle AVDF 20.11 version. In this article all IP Addresses blurred for security purpose.
Steps to Install Host Monitor Agent on Linux:
- Login AVDF Console as administrator user
- Current Host Monitor status from AVDF console
- Download the Host Monitor Agent for Linux Platform
- Upload the downloaded file to the target Database server
- Unzip the Host Monitor Agent from root user on Target Database Server
- Install the Host Monitor agent
- Post Installation tasks
- Transfer hmcsr.csr file to AVS Server
- Generate a signed cert file
- Transfer generated hmcert.crt file
- Execute below commands as root on Target Database server
- Execute below commands as root on Database Firewall server
- Check Host Monitor status from AVDF console
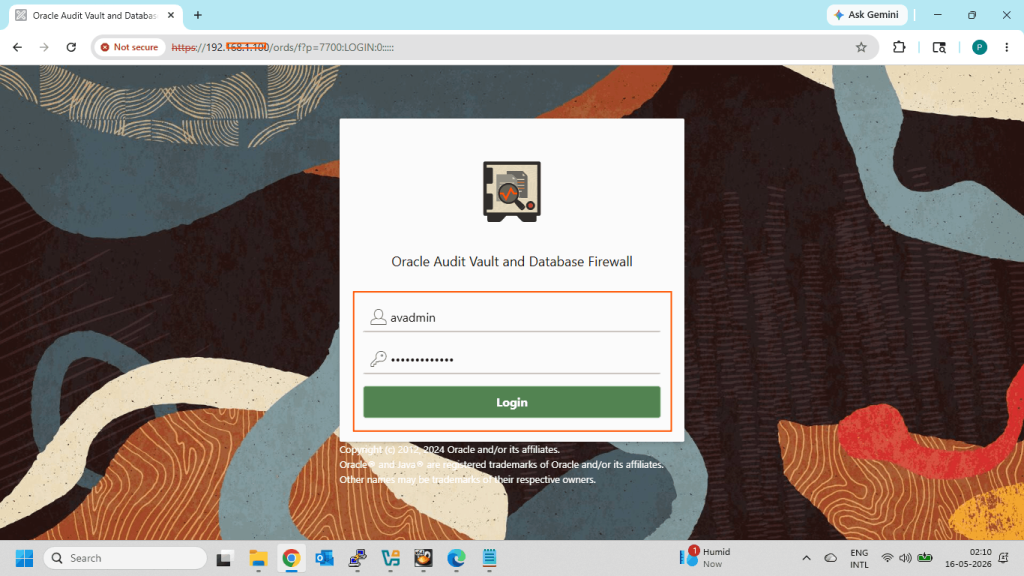
Login AVDF Console as administrator user:
Here in my case administrator username is avadmin.
Current Host Monitor status from AVDF console:

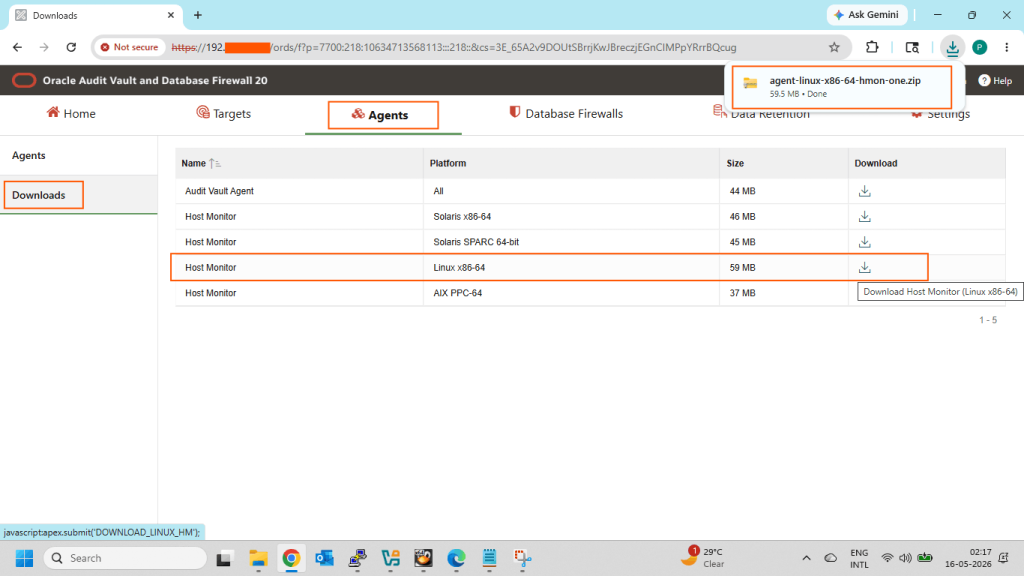
Download the Host Monitor Agent for Linux Platform:
Go to the Agents tab then Downloads tab and click on Download for Linux server.
Upload the downloaded file to the target Database server:
Copy the downloaded agent-linux-x86-64-hmon-one.zip file to the target Database server.

Unzip the Host Monitor Agent from root user on Target Database Server:
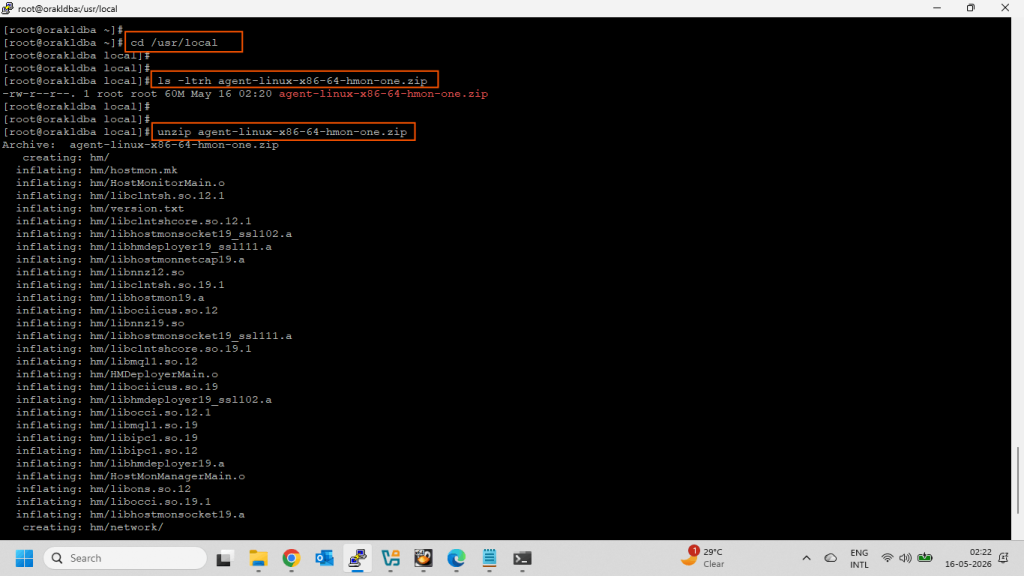
Install the Host Monitor agent:
Execute below command to install the Host Monitor Agent.
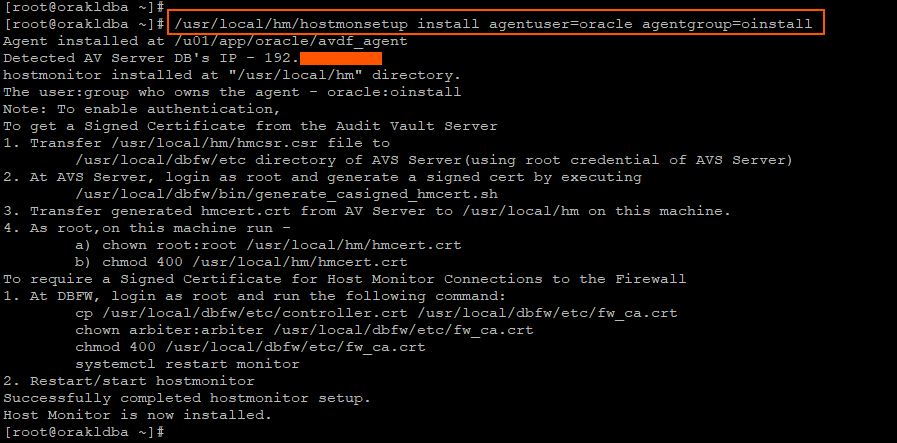
Post Installation tasks:
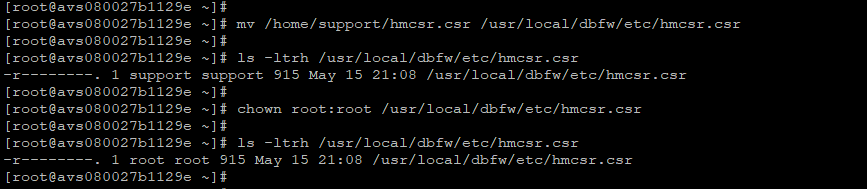
Transfer hmcsr.csr file to AVS Server:
Transfer /usr/local/hm/hmcsr.csr file to /usr/local/dbfw/etc directory of AVS Server(using root credential of AVS Server).
We cannot copy this file directly using the root user because the Oracle Audit Vault and Database Firewall appliance disables direct remote root SSH/SCP access by default for security hardening. Therefore, we first copied the file using the support user and then moved the file to the required location with appropriate ownership and permissions using local root access.
Generate a signed cert file:
At AVS Server, login as root and generate a signed cert by executing /usr/local/dbfw/bin/generate_casigned_hmcert.sh

Transfer generated hmcert.crt file:
Transfer generated hmcert.crt from AV Server to /usr/local/hm on this machine.

Execute below commands as root on Target Database server:
As root, on this machine run –
a) chown root:root /usr/local/hm/hmcert.crt
b) chmod 400 /usr/local/hm/hmcert.crt

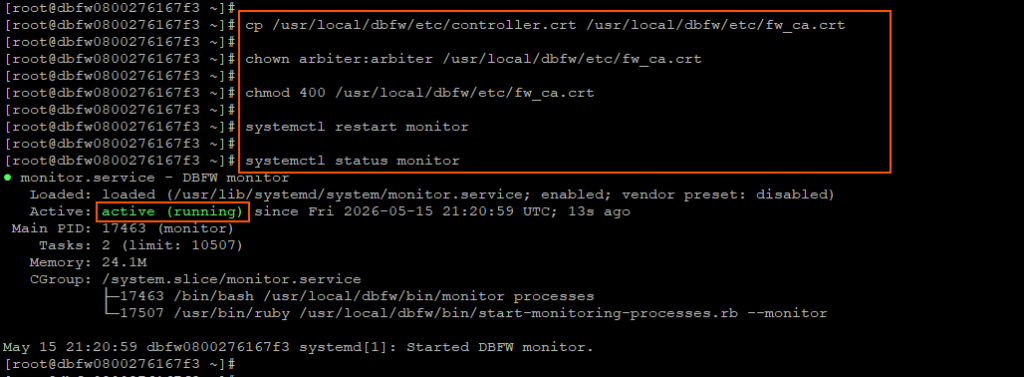
Execute below commands as root on Database Firewall server:
Check Host Monitor status from AVDF console:
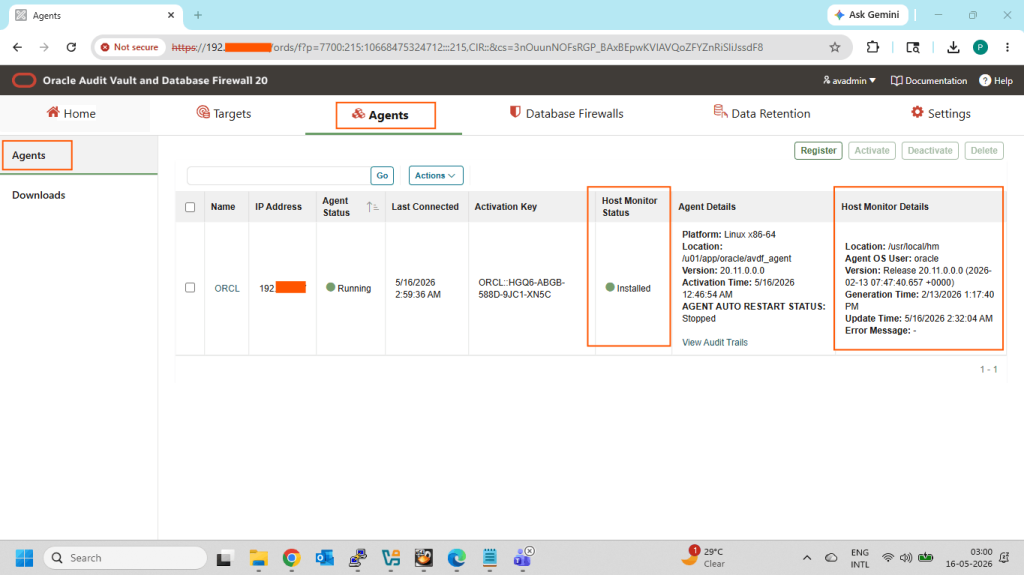
Now Host Monitor Agent installation on Linux has been successfully completed…!!!
Click on below link for another AVDF related details…
- How to install Oracle Audit Vault Server 20.11
- How to install Oracle Database Firewall Server 20.11
- Register Database Firewall with Audit Vault Server (AVDF 20.11)
- How to install Audit Vault Agent 20.11 on Linux
- How to Register a target database on AVDF 20.11 console
- How to install Oracle Audit Vault Server 20.10
- How to install Oracle Database Firewall Server 20.10
- How to Register Database Firewall with Audit Vault Server 20.10
- How to install Audit Vault Agent 20.10 on Linux
- How to install Host Monitoring Agent 20.10 on Linux
- How to Register a target database on AVDF 20.10 console
I hope my written content will helped you. Your suggestions/feedback are most welcome from orakldba.com. Keep learning… Have a great day!!!
Please comment here for your any query related to above content. You can write to mail me through my Email.Email :- orakldba@gmail.com
LinkedIn :- https://linkedin.com/in/prasantakirtaniya
Twitter :- https://twitter.com/prasantadba
Facebook Page :- https://www.facebook.com/orakldba
Website :- https://orakldba.com
ACE Profile :- https://ace.oracle.com/apex/ace/profile/prasantakirtaniya